Installation
When you pay for your site license or lifetime license (if available) you are entitled to a copy of the SiteSeo code.
The installation documentation begins after you have created your laravel application and installed one of the Laravel Starter Kits. We have provided a video and detailed explanation of how you can create your Laravel application and launch in under 5 minutes here.
Download Package
Whether your account is on LaraNx.com or Gumroads you will have access to downloading a zip file.
Download the file and uncompress in root directory of your Laravel installation. Eventually, a composer package will be available, but for now we will use this method.
Install
Begin by copying the laranx.zip file to your application root directory.
Uncompress the laranx.zip file using unzip.
unzip laranx.zipThe following directories will be created in your application.
|-packages
    |-srg
        |-laranx
In composers.json add:
"repositories": [
        {
            "type": "path",
            "url": "packages/srg/laranx",
            "options": {
                "symlink": true
            }
        }
    ],
And the following line to "require": section in composer.json
"srg/laranx": "dev-master"There have been issues with adding the package from the command line, so add it manually to the composer.json file.
If you haven't created your storage symbolic link yet run:
php artisan storage:linkRun the following commands:
composer update
php artisan migrate
Publish the theming directory
php artisan vendor:publish --tag=laranxFinally, we are going to setup routing.
In your routes/web.php
replace:
Route::get('/', function () {
    return view('welcome');
});
with
use Srg\Laranx\Laranx;
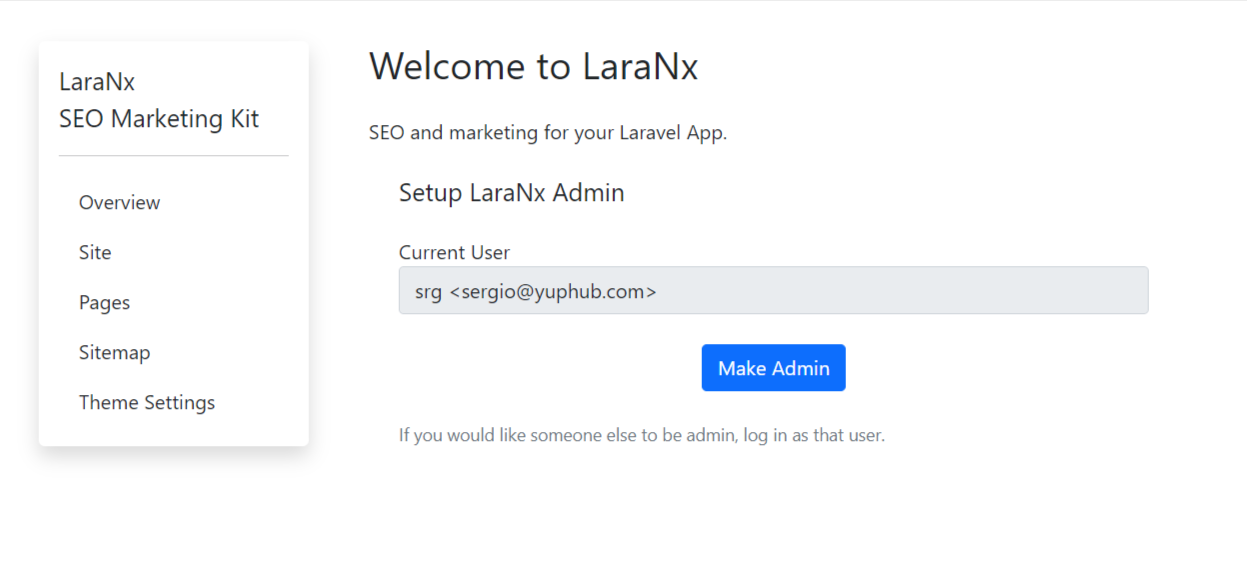
Laranx::routes();Setup SiteSeo Admin
Once the install is complete, SiteSeo is ready.
Log in to your application and add '/laranx' after your domain. For example: yoursite.com/laranx
You will get the Welcome to SiteSeo screen.